Are you a teacher looking for a planner for schooldays-only?
Do you need a planner only for workdays?
Have you been looking for weekday-only agendios?
Well you’re in luck! Agendio now offers weekday-only Pro pages for you to use to create weekday-only planners and inserts.
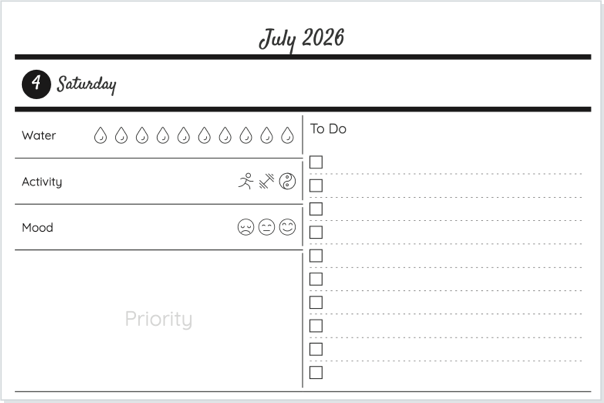
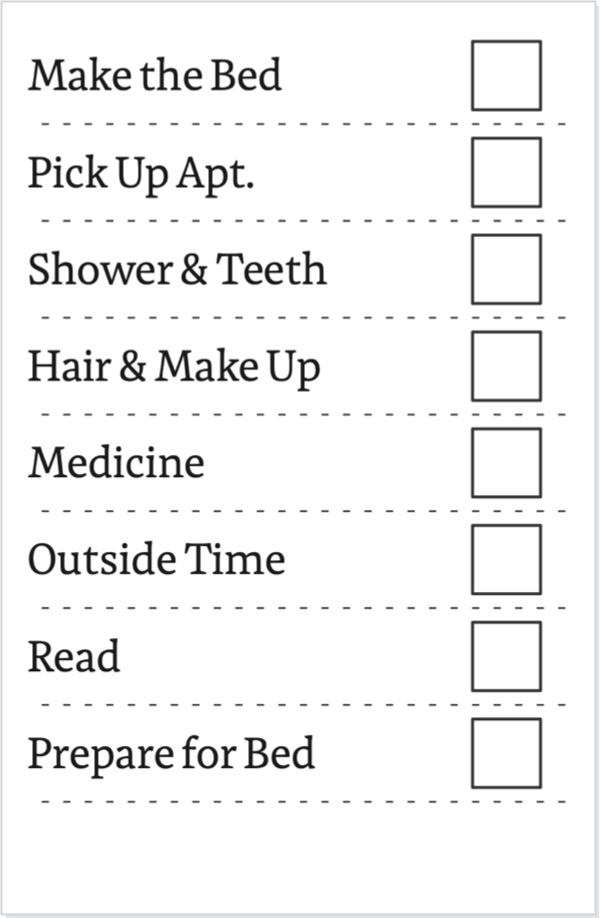
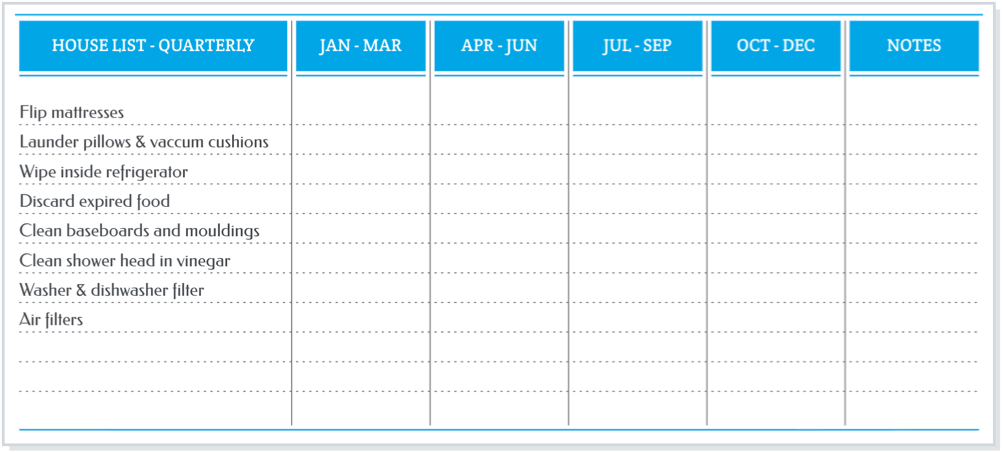
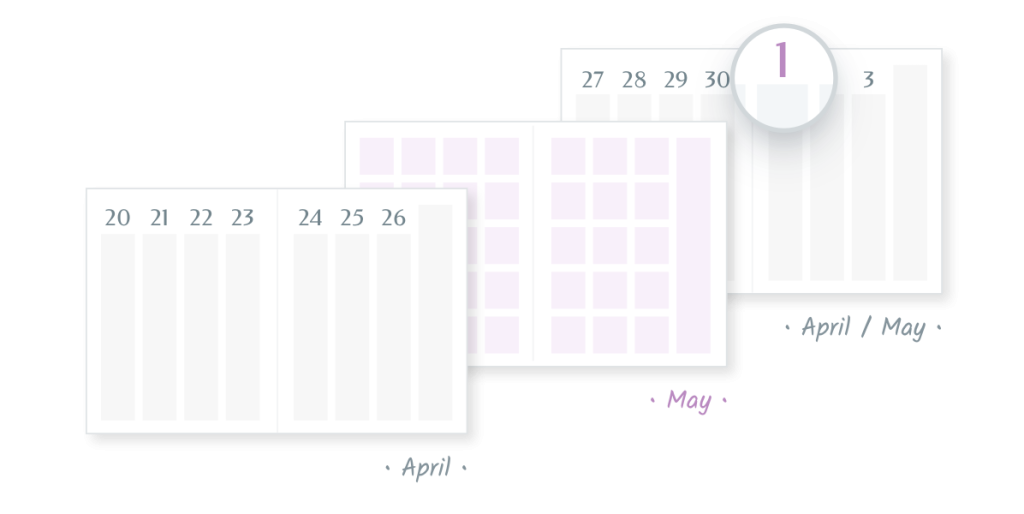
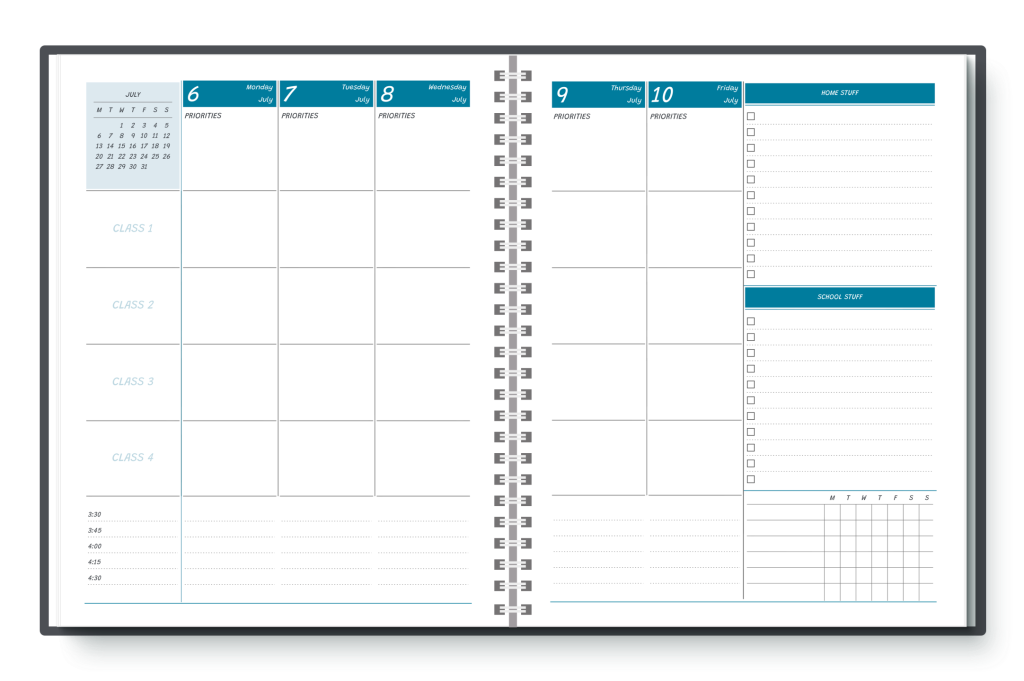
We offer a full variety of weekday-only planners, including column planners, such as this layout for teachers,
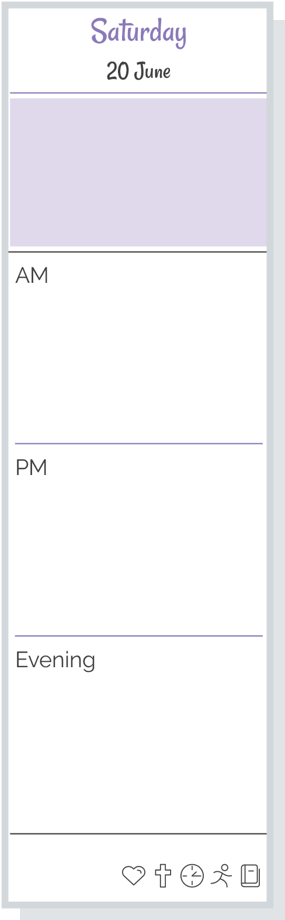
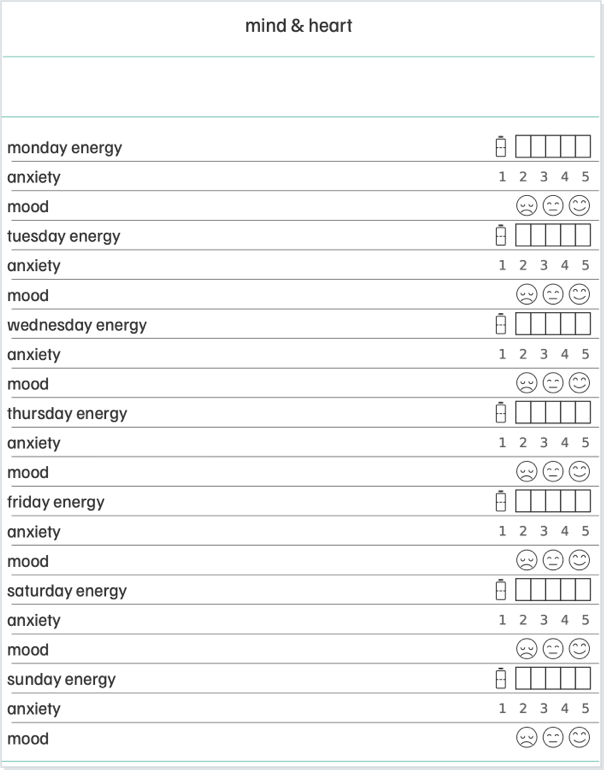
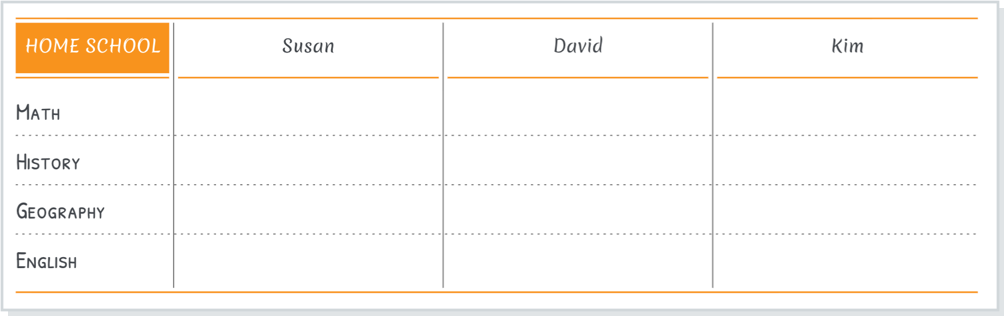
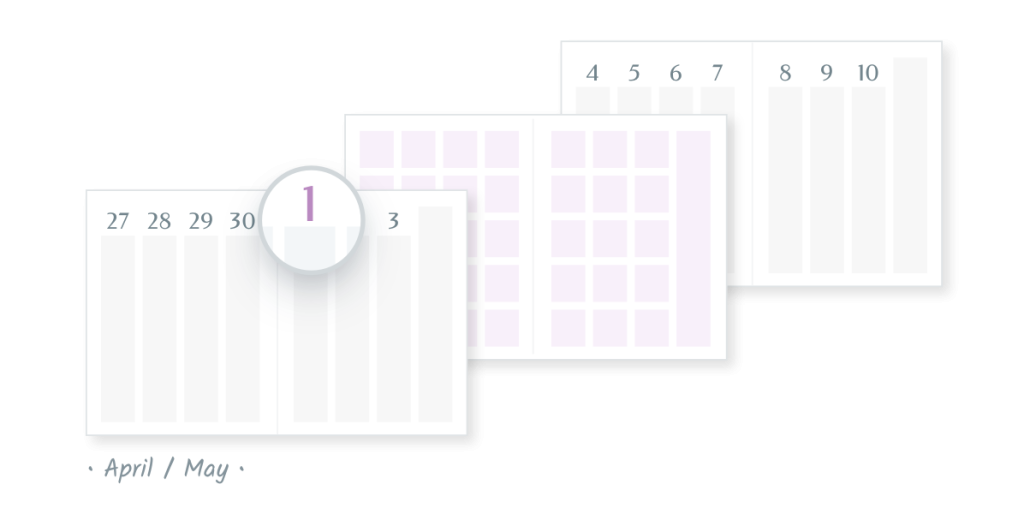
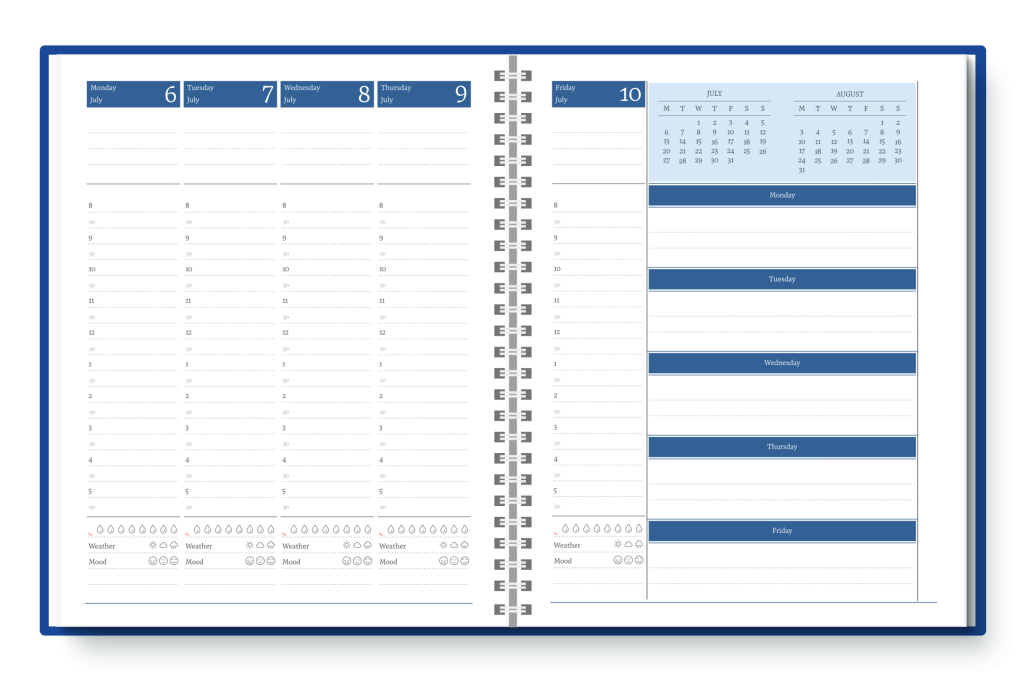
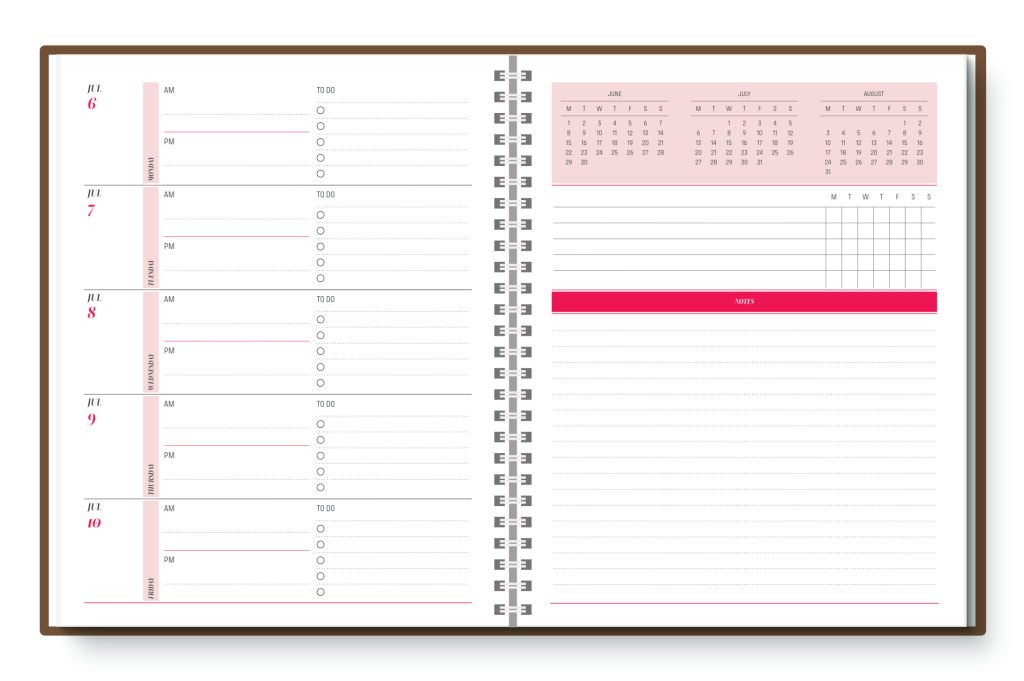
as well as sidebar weekday-only planners.
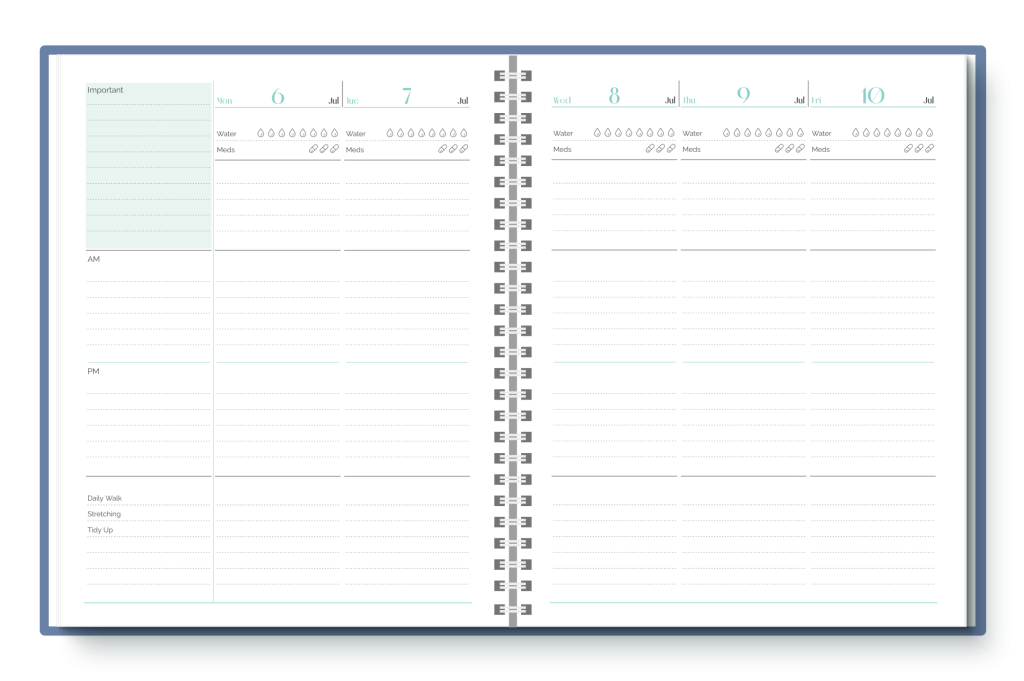
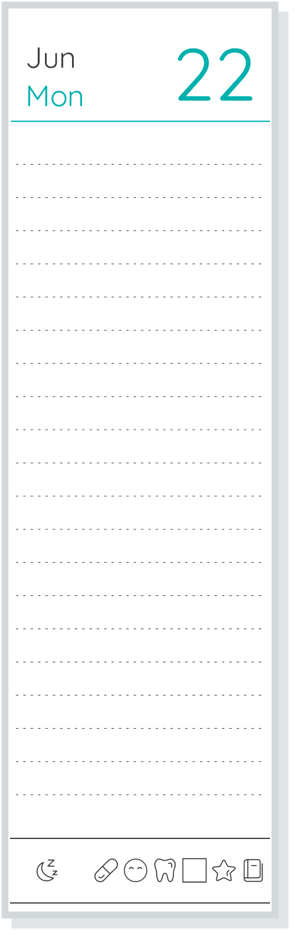
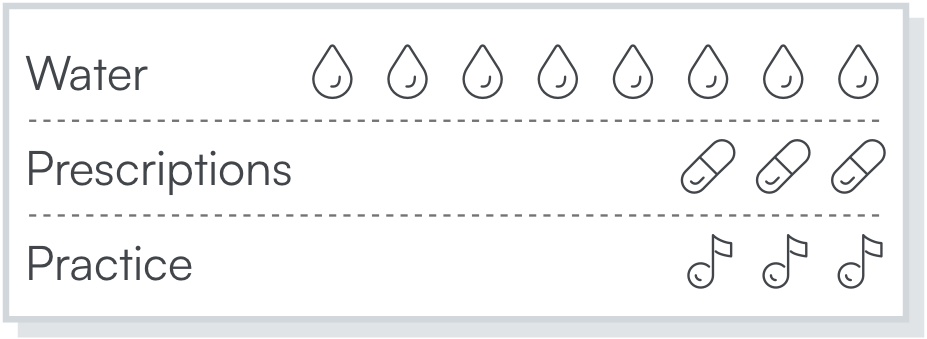
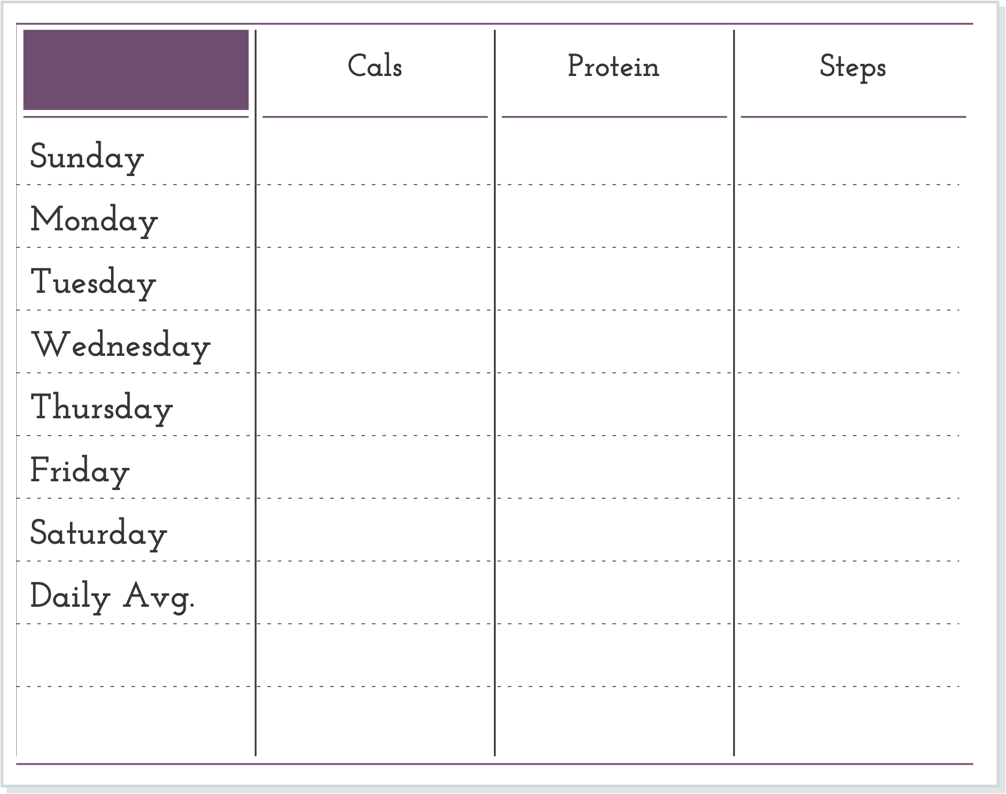
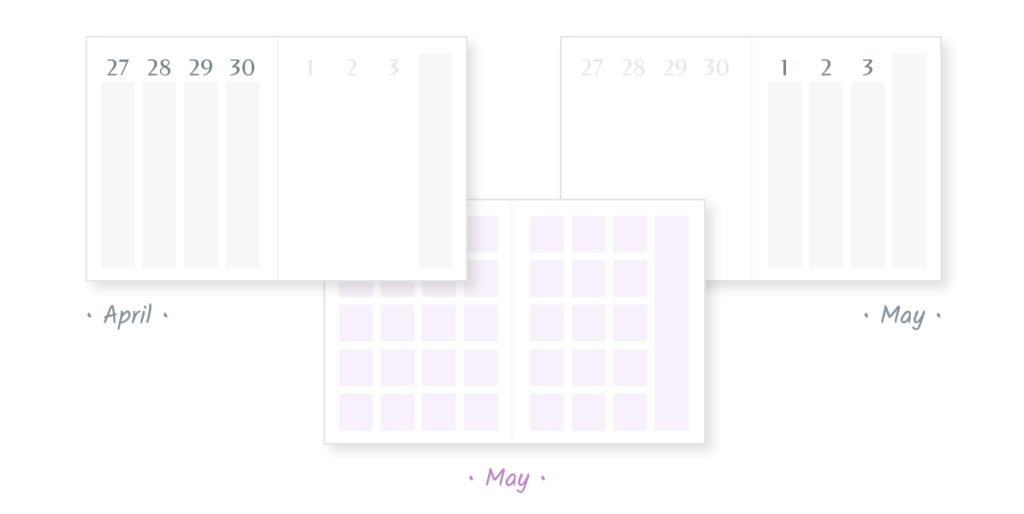
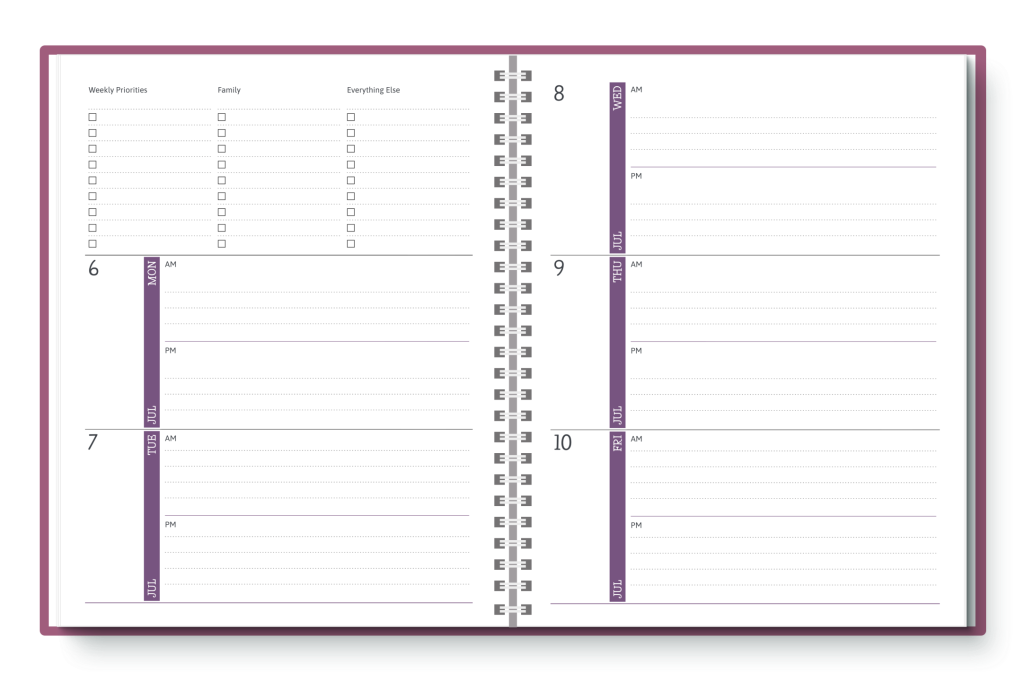
You can also find row weekend-only planners in a variety of layouts
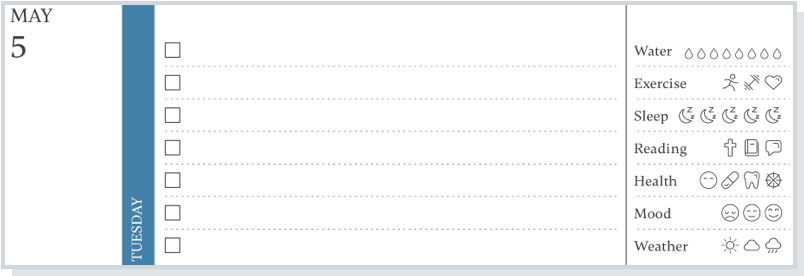
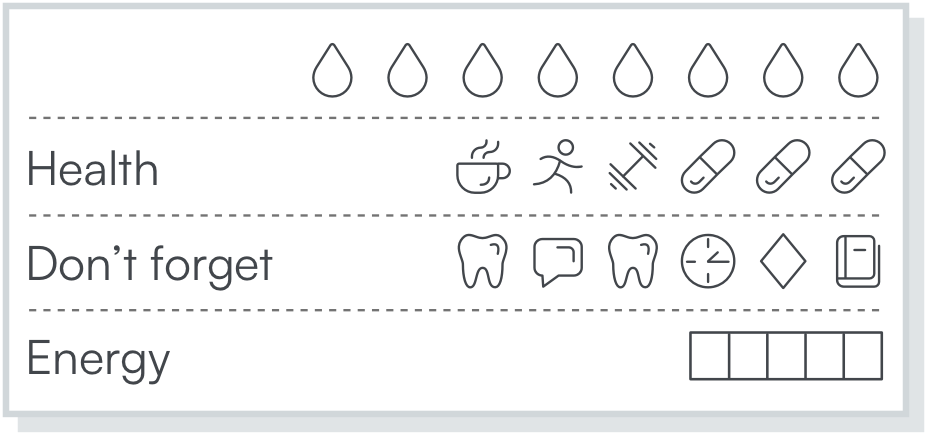
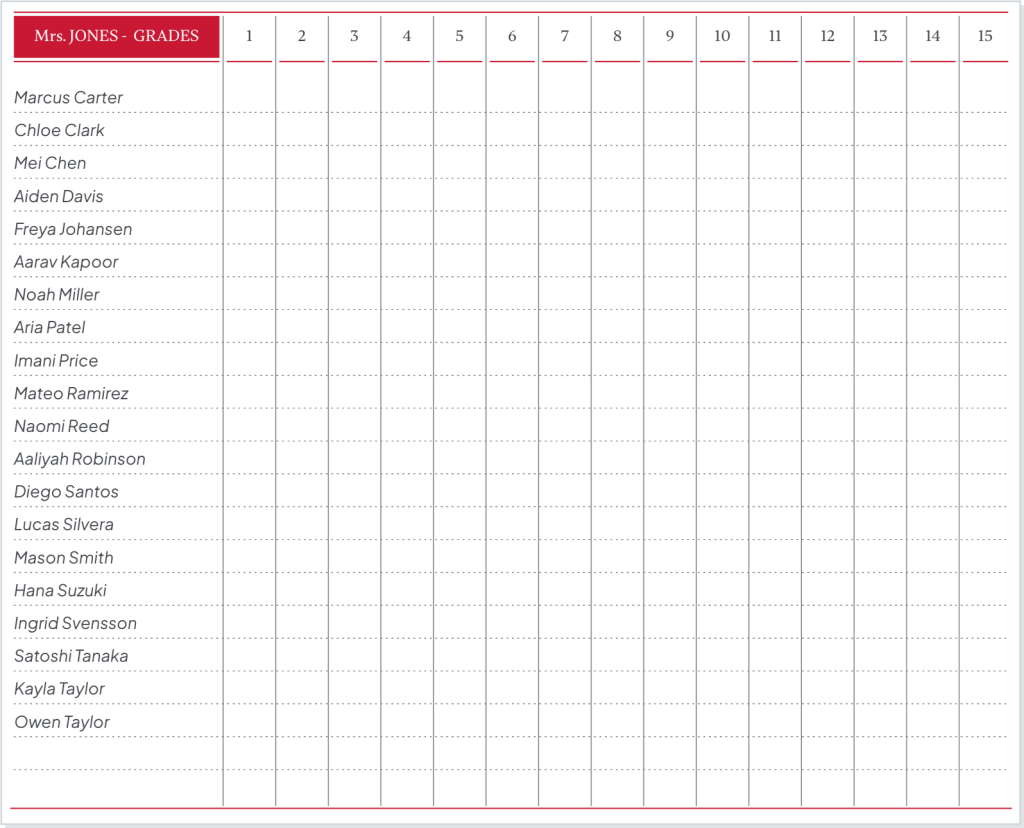
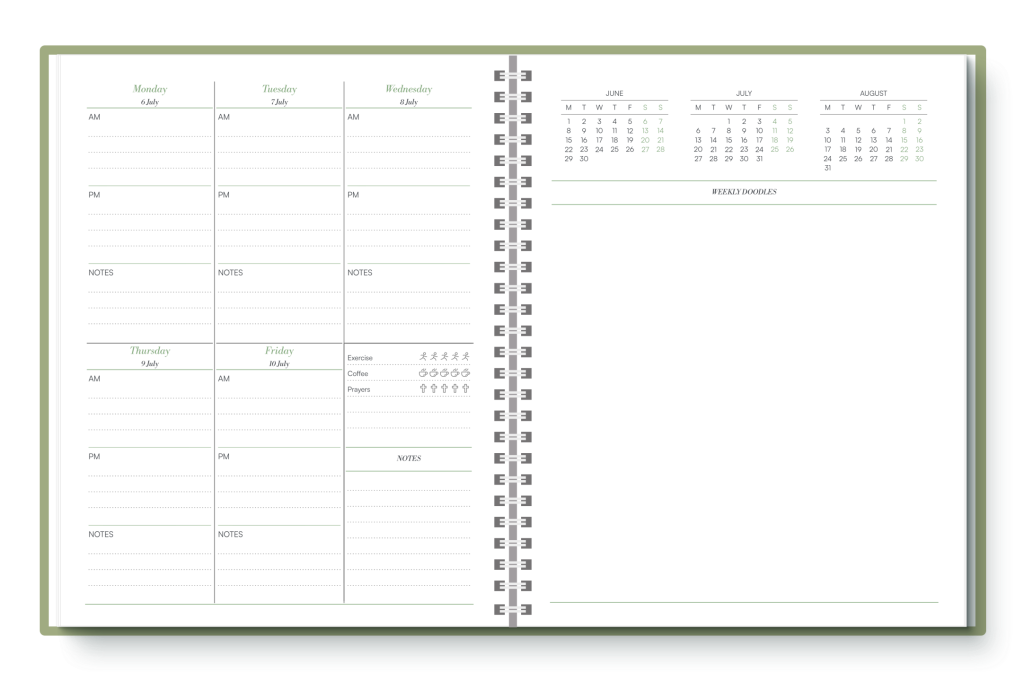
and grid layouts
Whatever your weekday-only planner needs, we’re confident you will find what you need in an agendio.
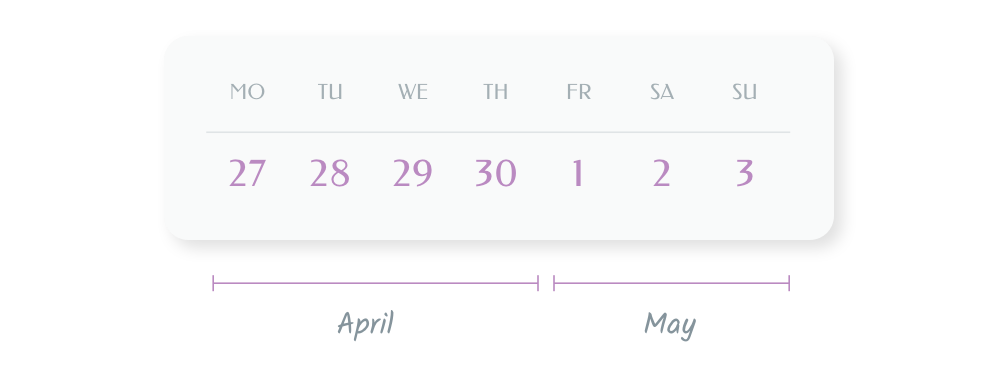
To make one, go to the Agendio Hub and start a page as you would normally. When it’s time to select a template or a blank canvas, you will see the option for Full week (7 days) or Weekday-only (5 days). Select the 5-days option and go from there.